I am a passionate, innovative creator who finds the intersection of technology and creativity fascinating because it leads to invigorating design that can elevate the soul, challenge the mind and change the world.
Blog
-
May 9, 2025 | Business, Identity, Web
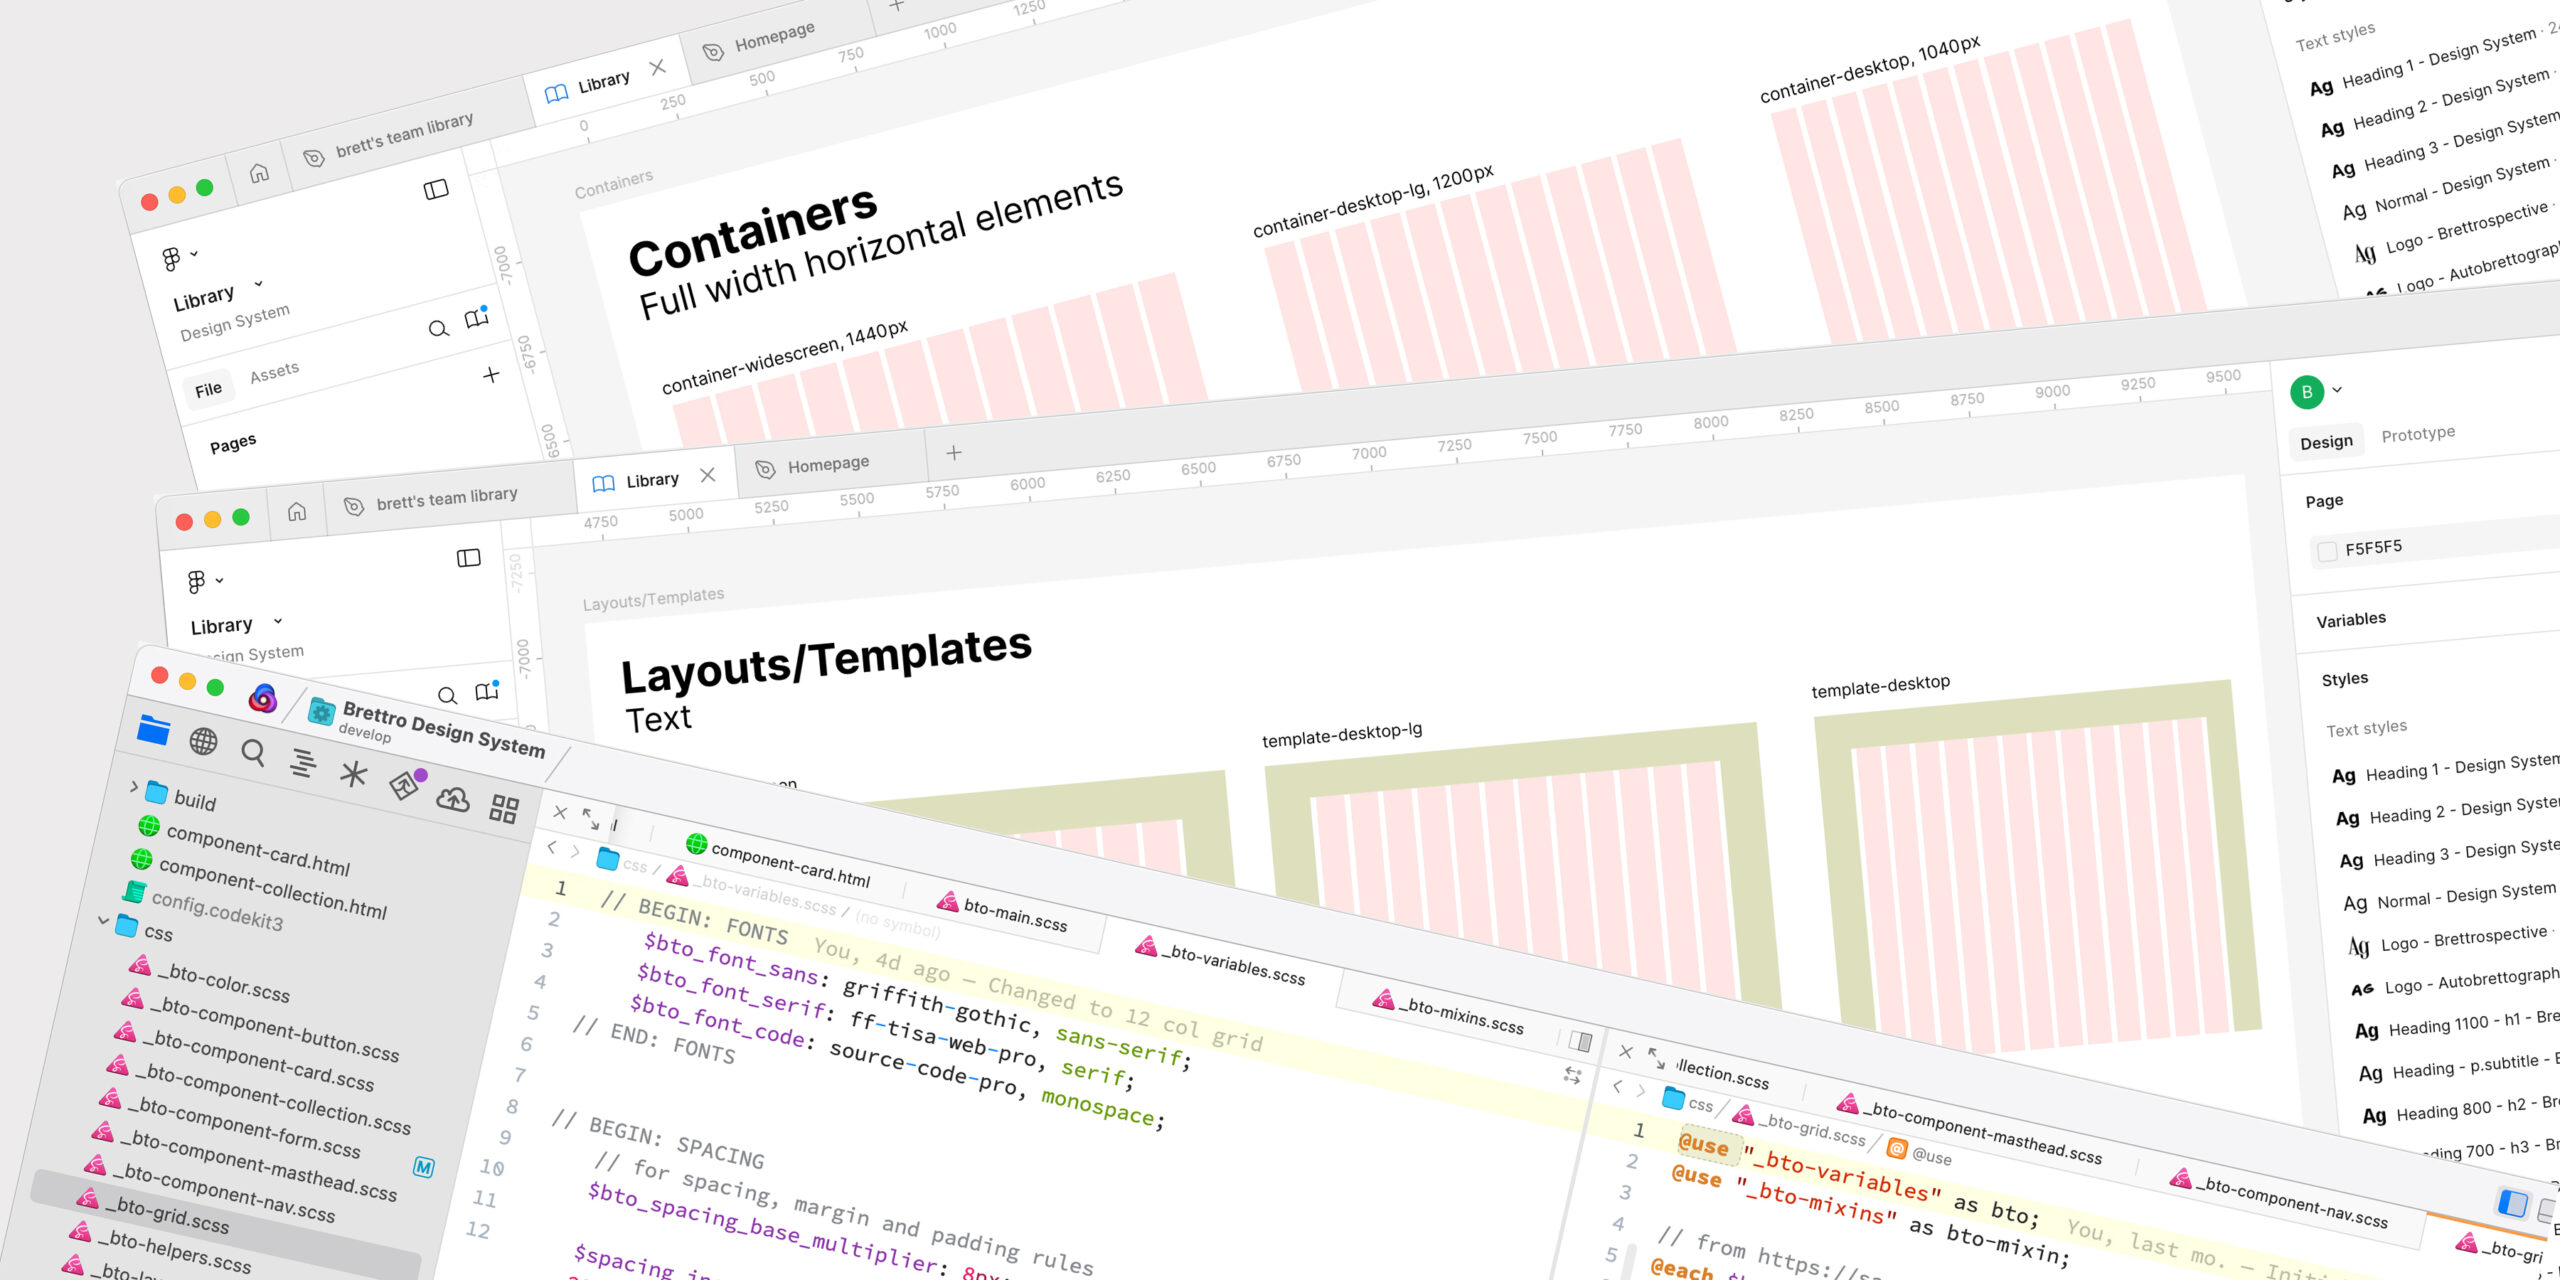
Brettro Design System: Containers & Layouts
Read how I developed my content and page containers and began my layout templates.
-
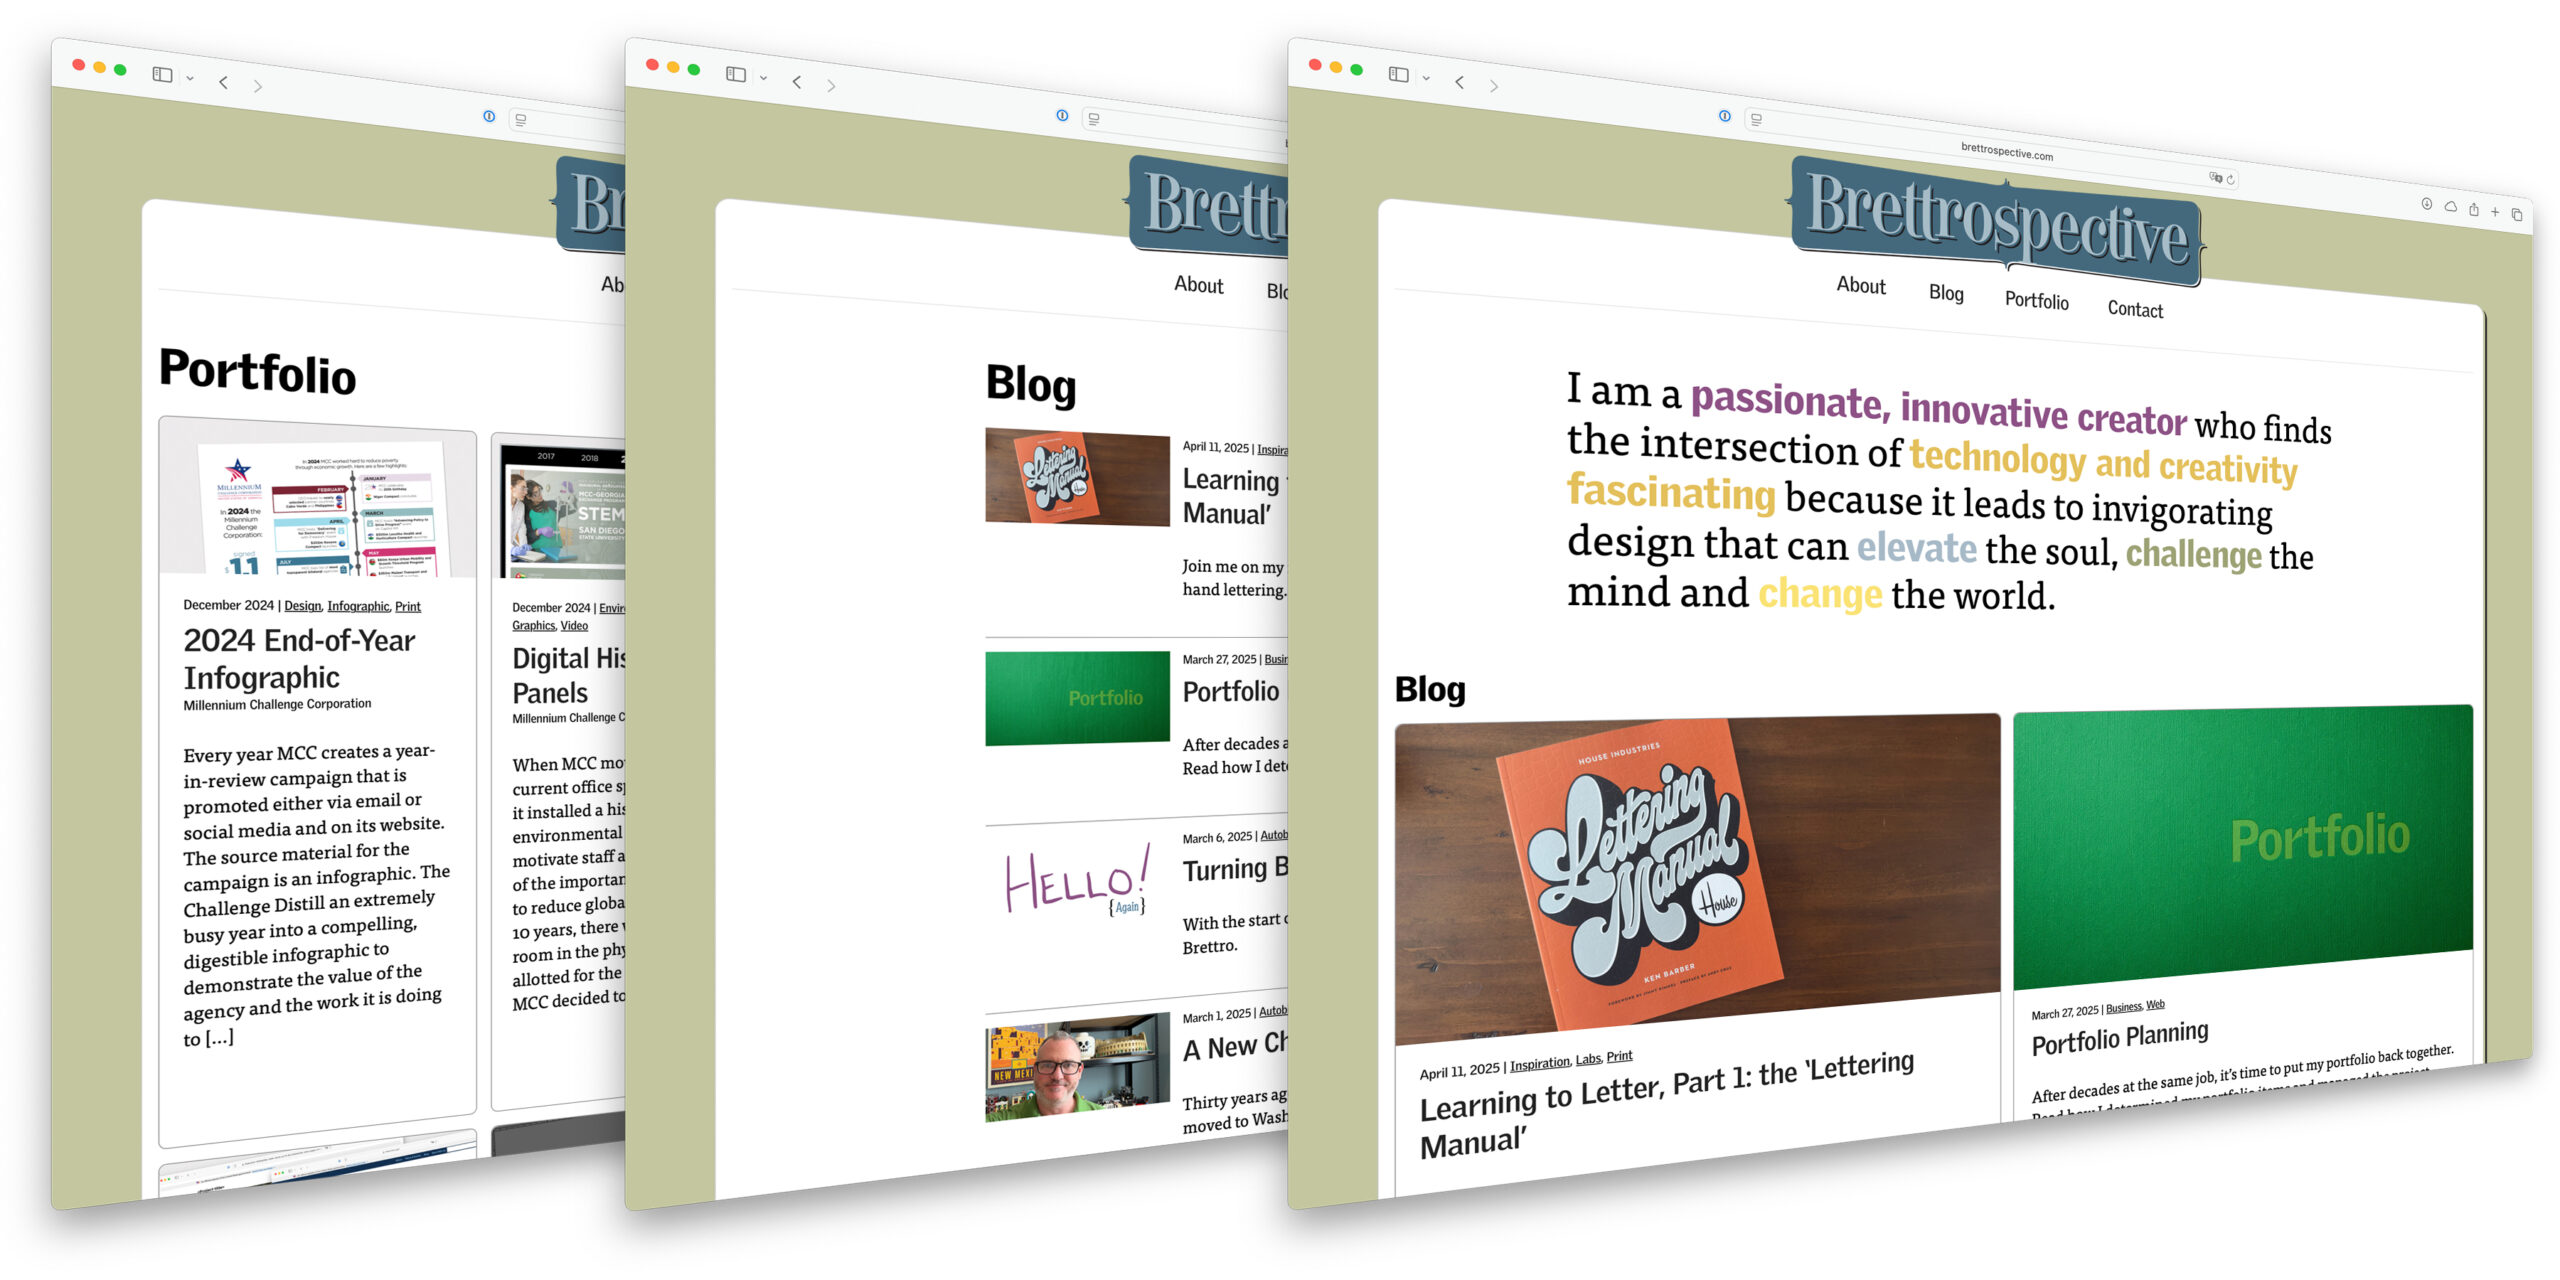
I have finally launched my website’s latest custom WordPress theme bringing years of “the bland Brettrospective” to an end.
Portfolio
Web
-
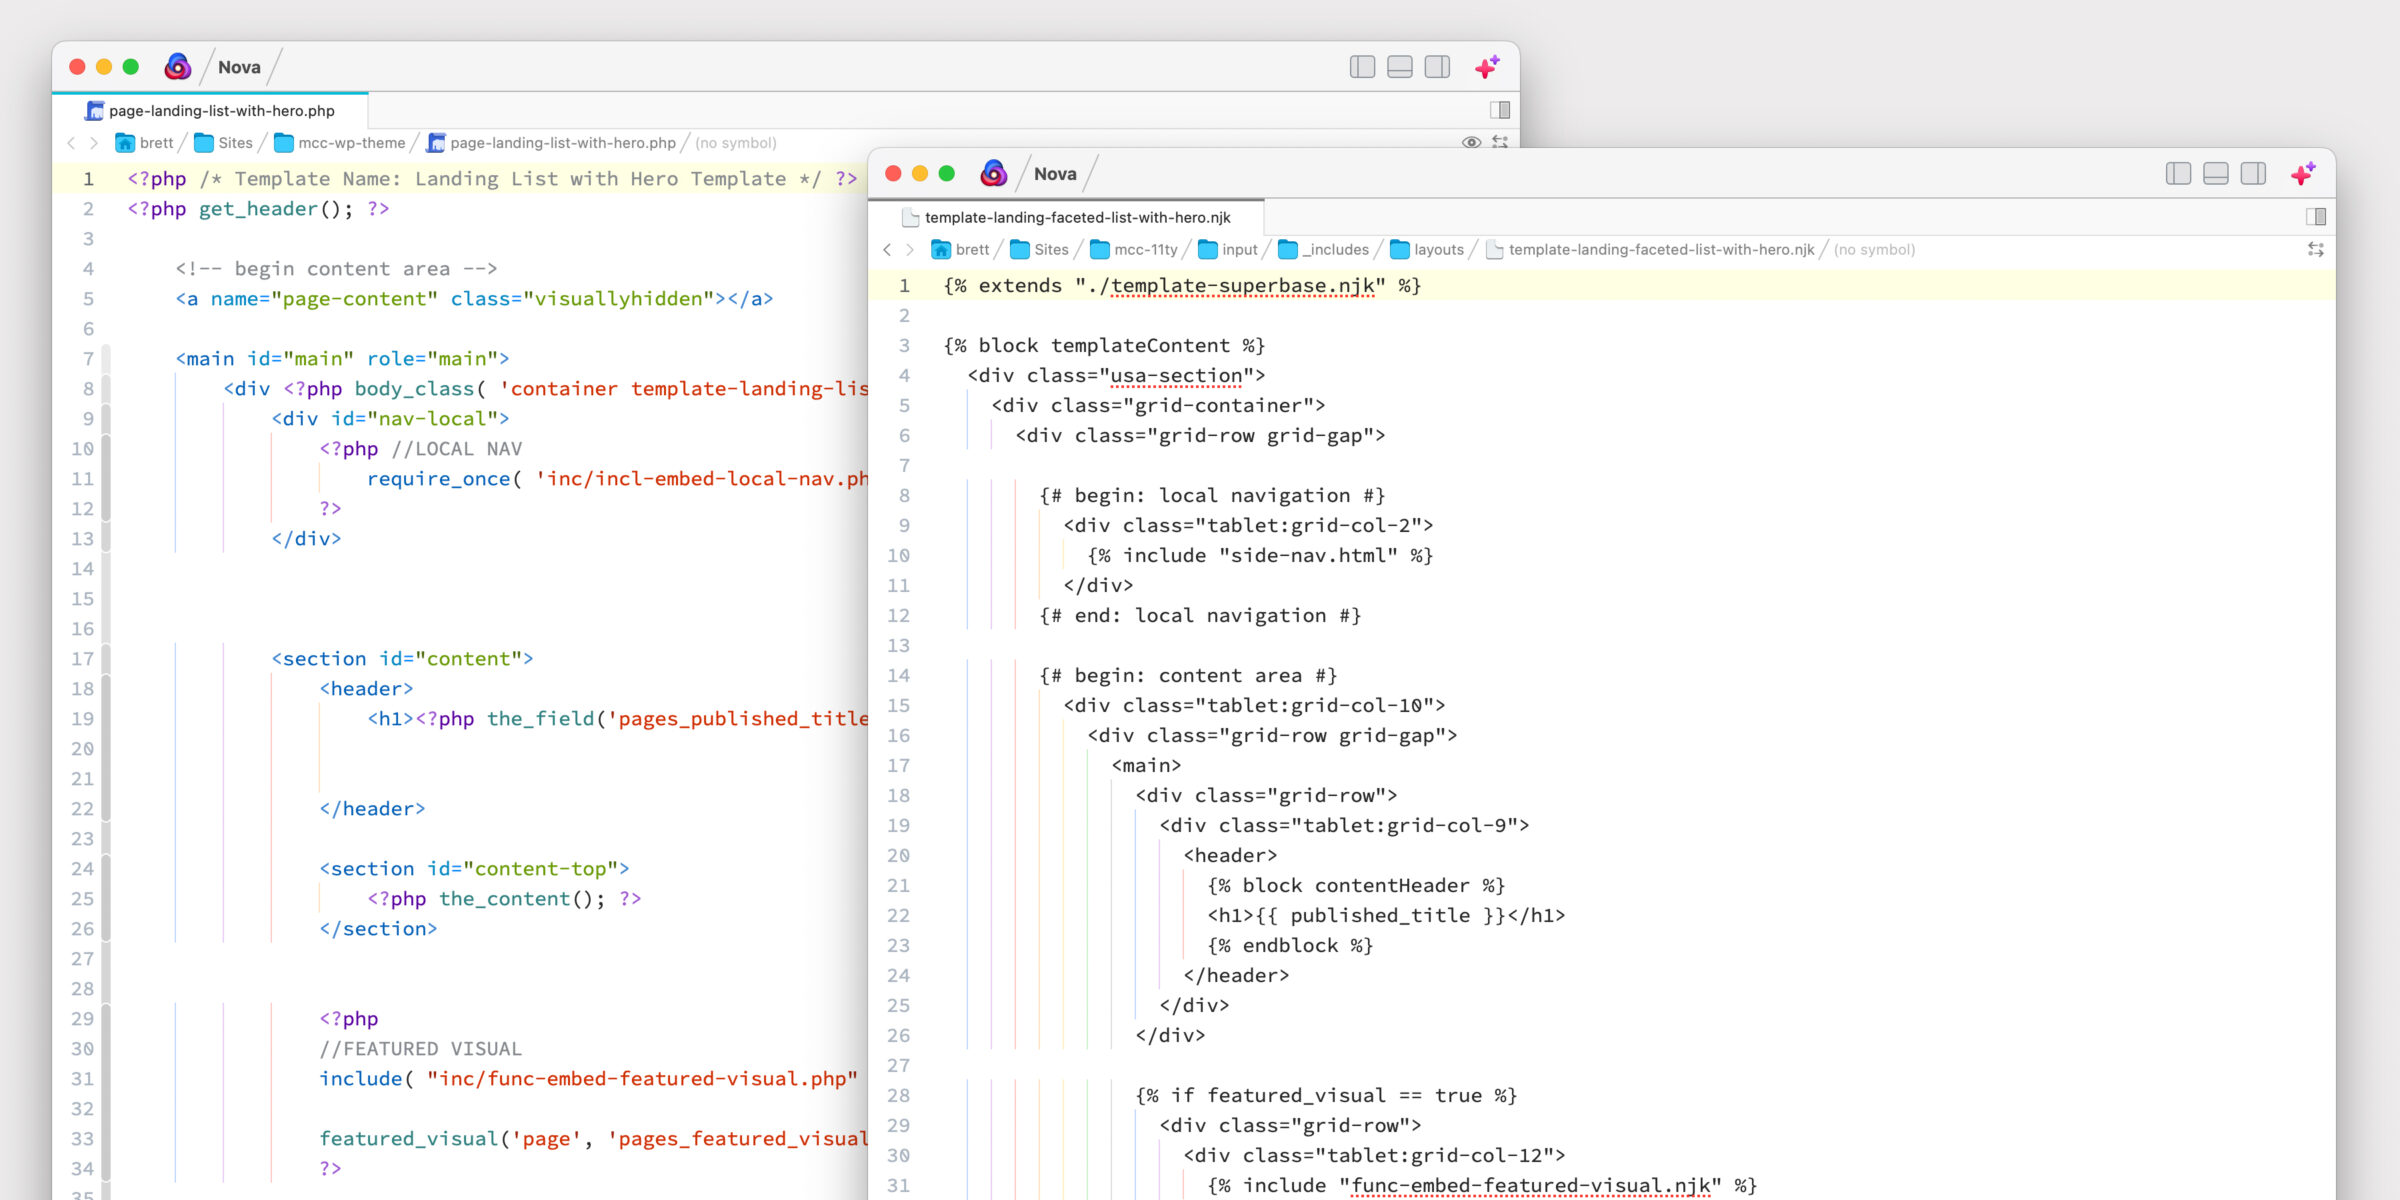
As part of MCC’s migration to a less expensive web hosting solution, the website’s 160+ templates and over 7,000 content elements had to be moved.
Identity
-

For MCC’s year-long 20th anniversary celebration, I created a logo to use on materials throughout the year.
-
May 2025 | Before & After, Design, Print
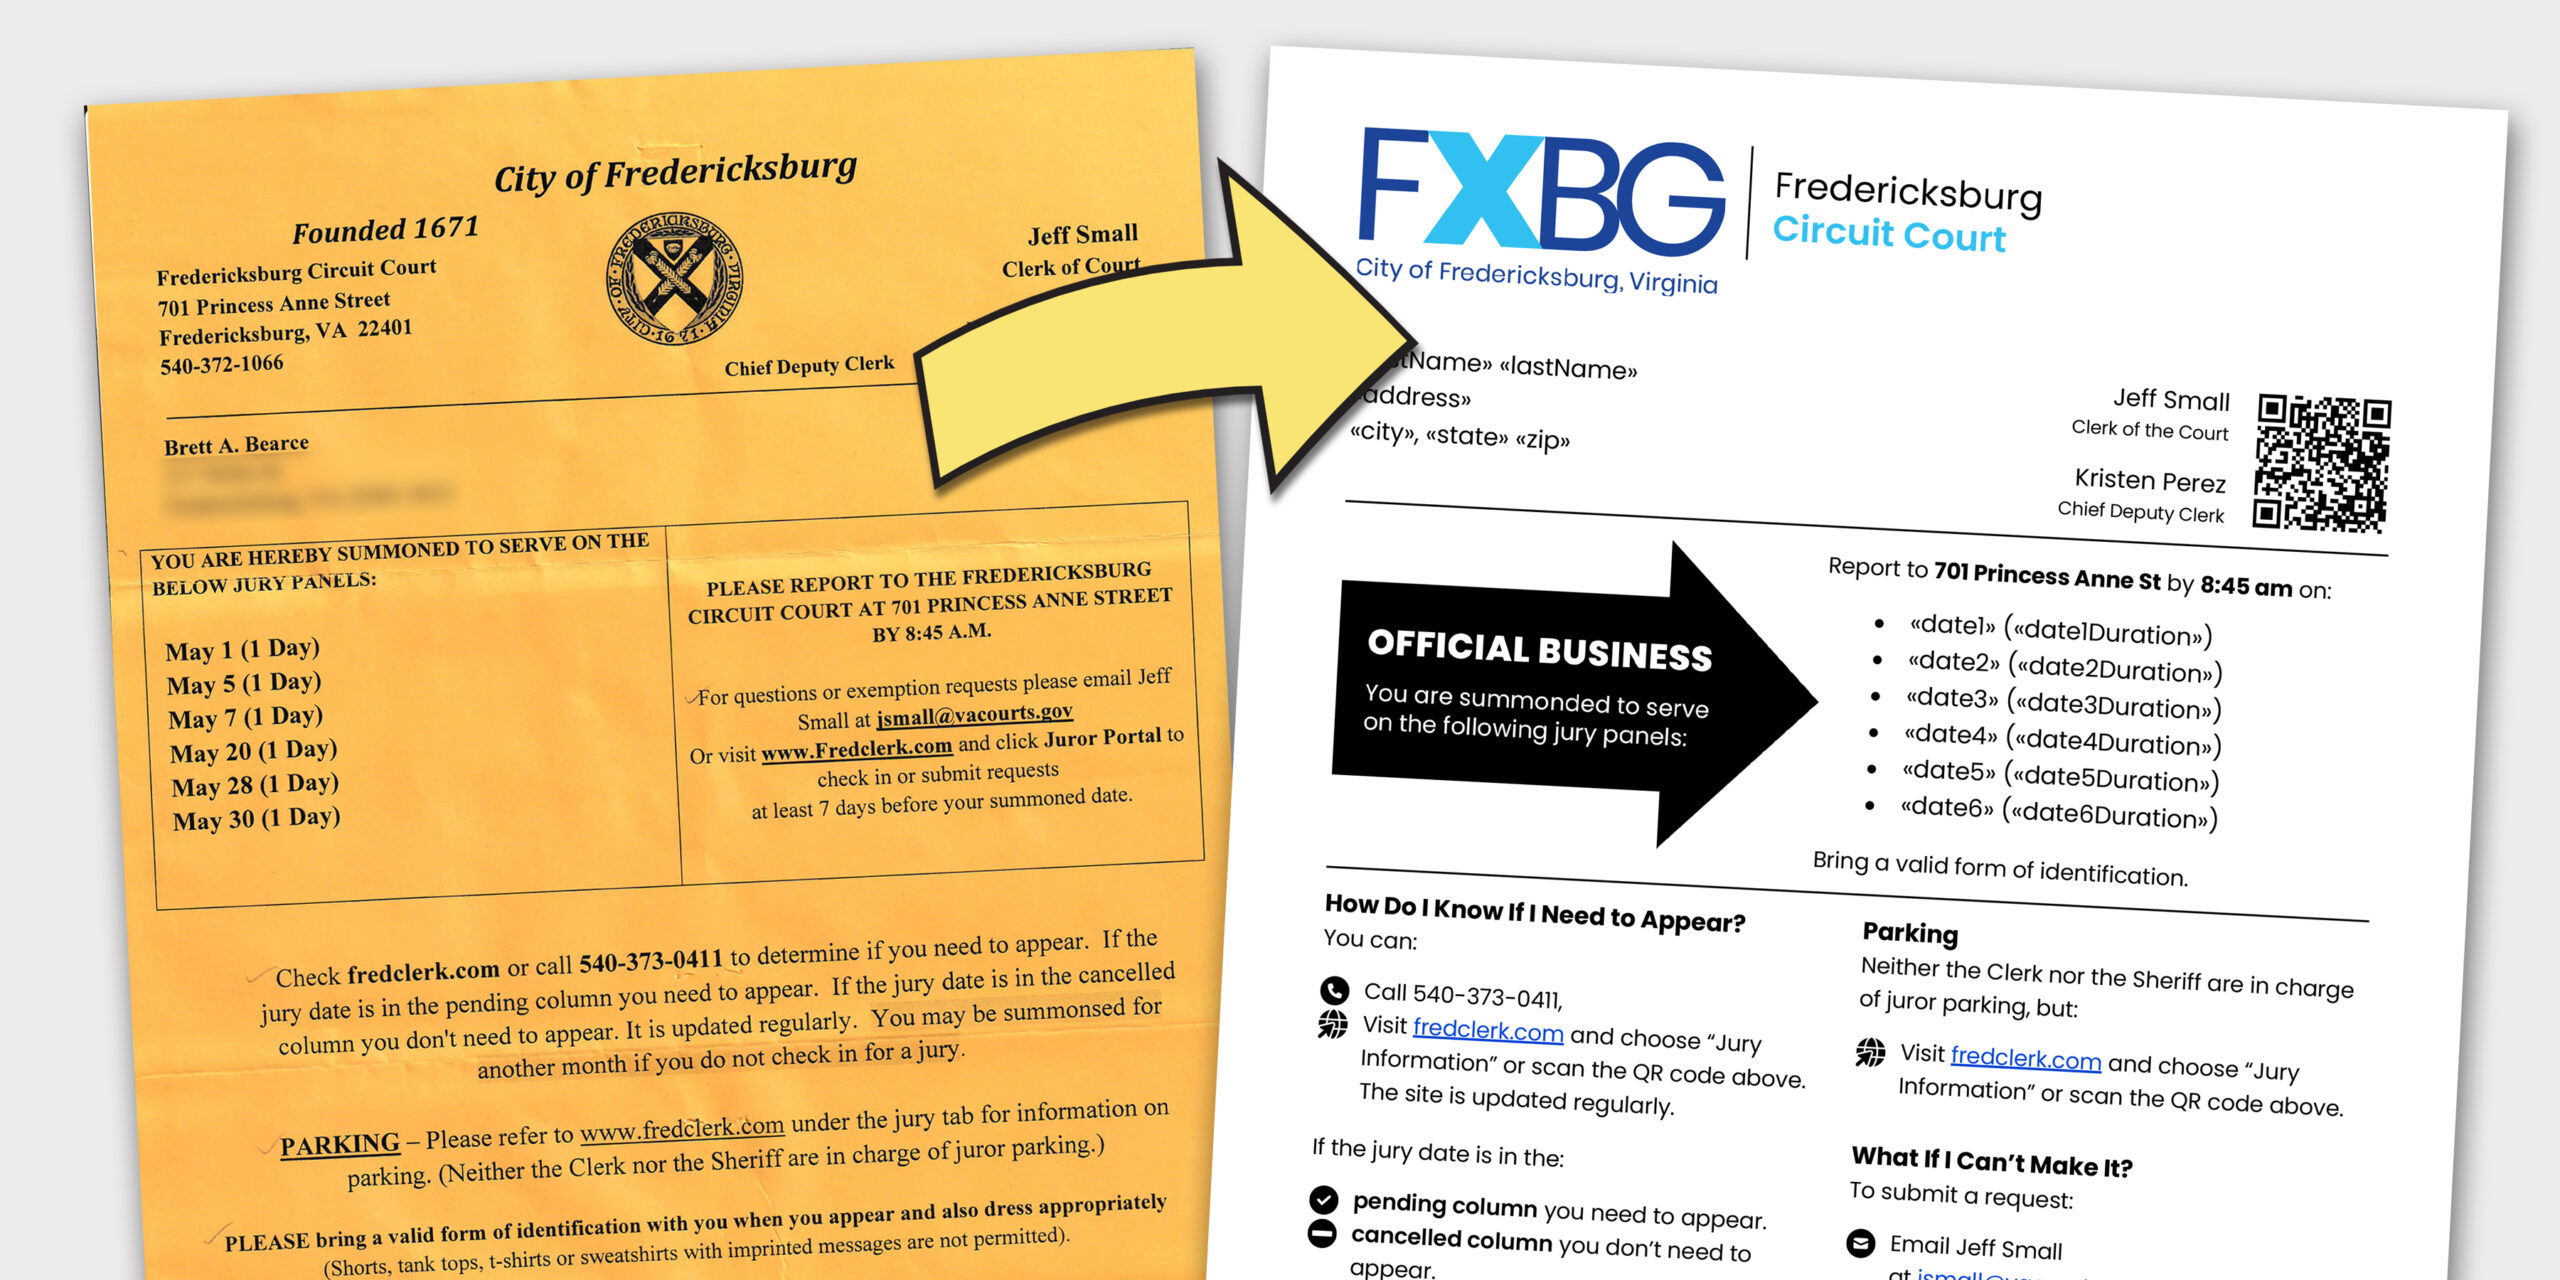
Before & After: Fredericksburg City Jury Summons
Fredericksburg City, Virginia
Take a look at my design alternative for the Fredericksburg City Circuit Court jury summons and walk through my process to get there.
Video
-
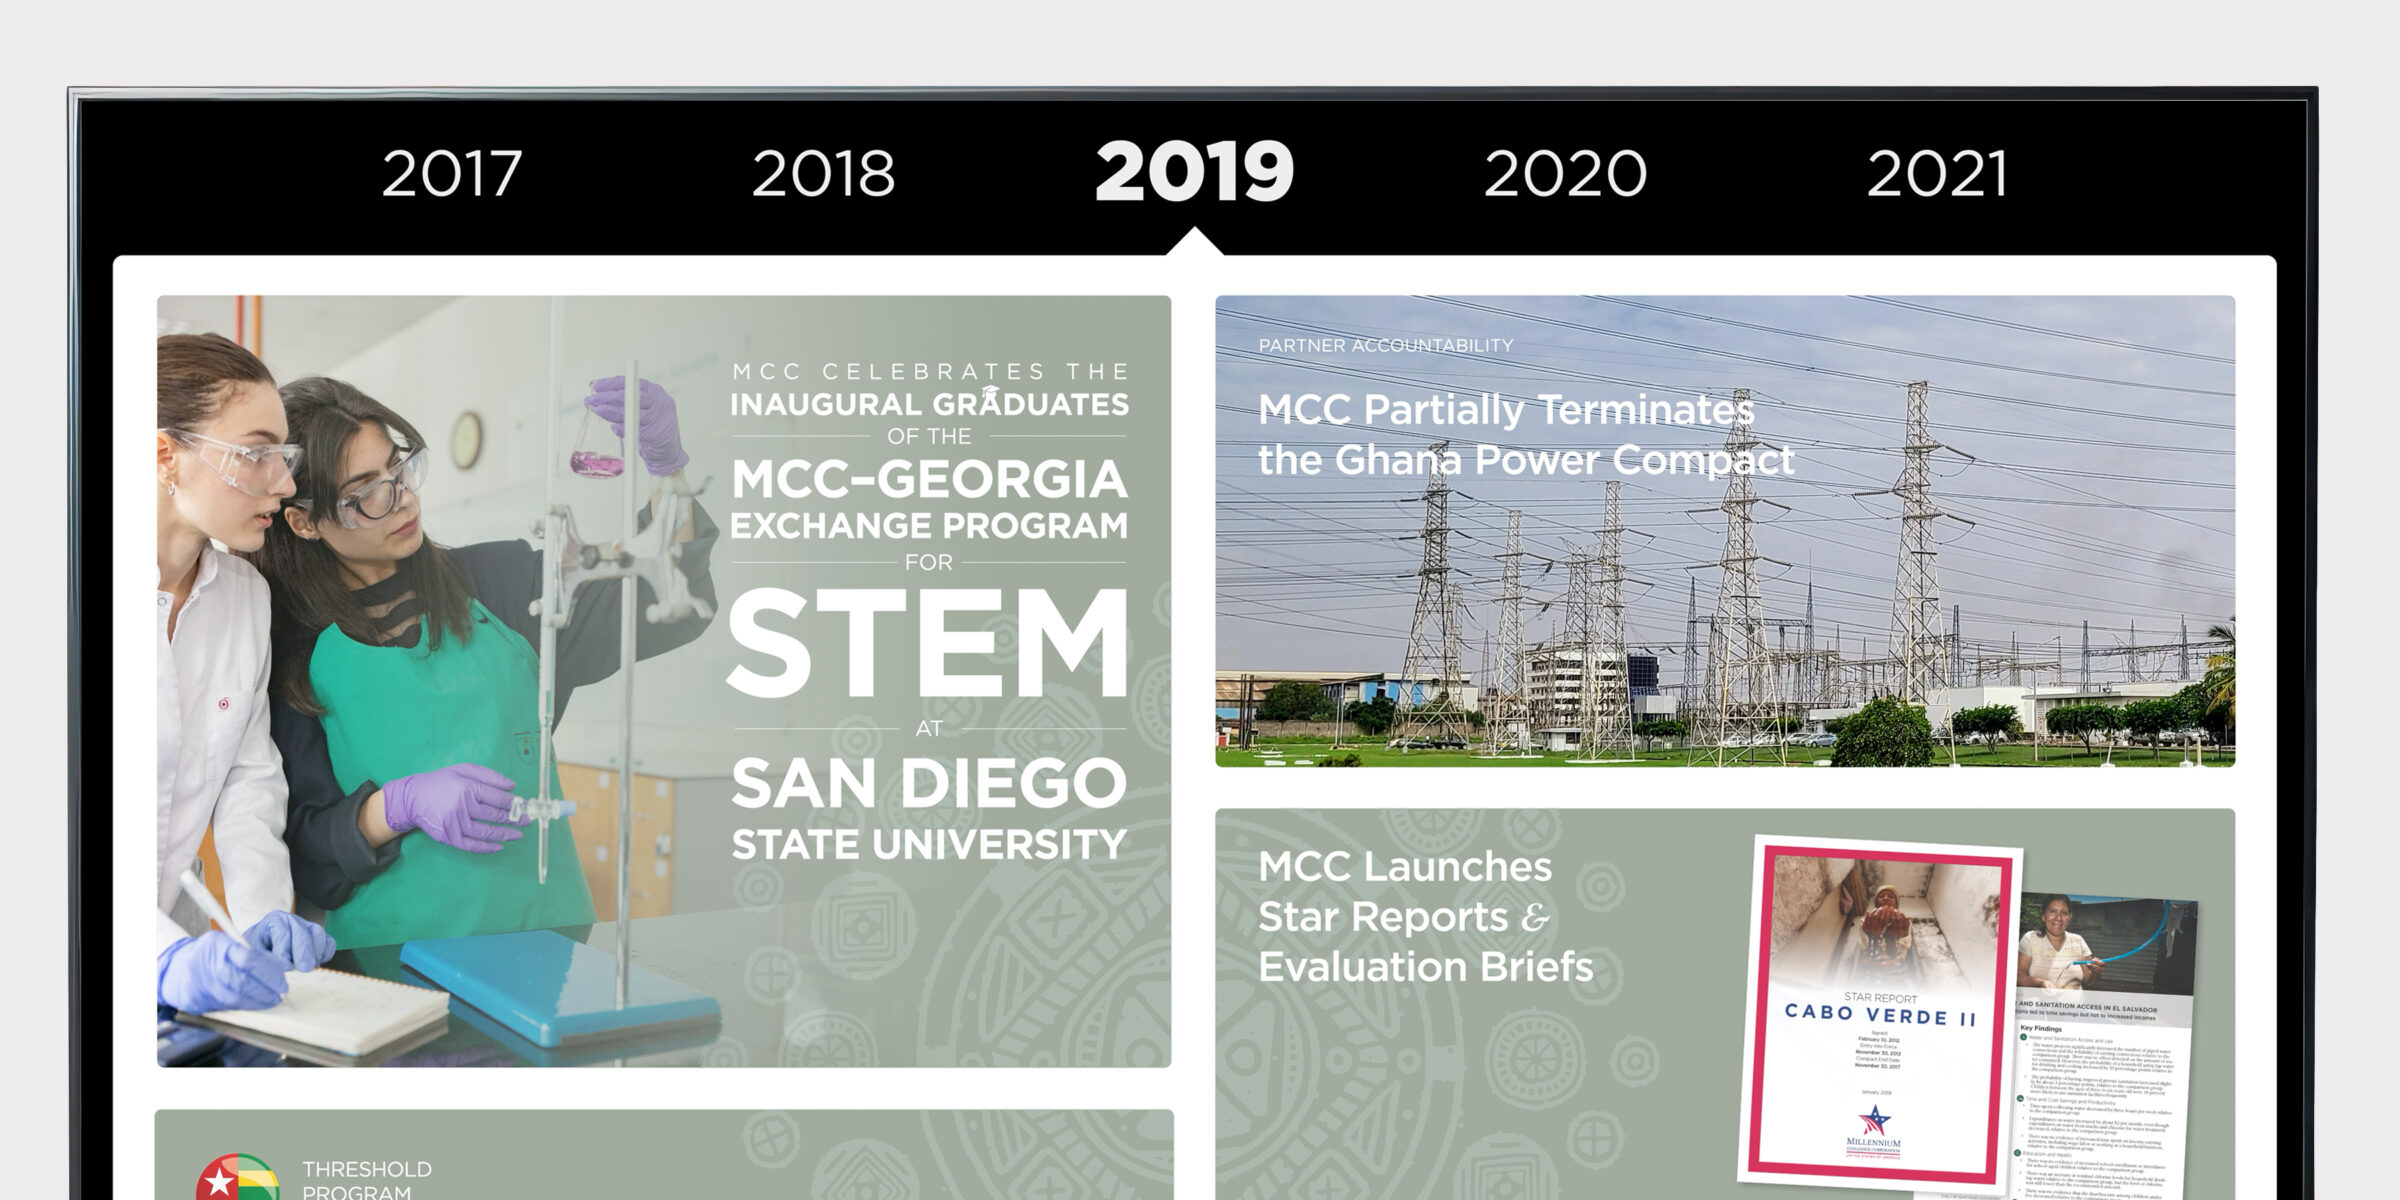
When MCC transitioned its history wall from physical to digital, adapting a static design to a compelling, immersive experience was a unique challenge.