Category: Business
-
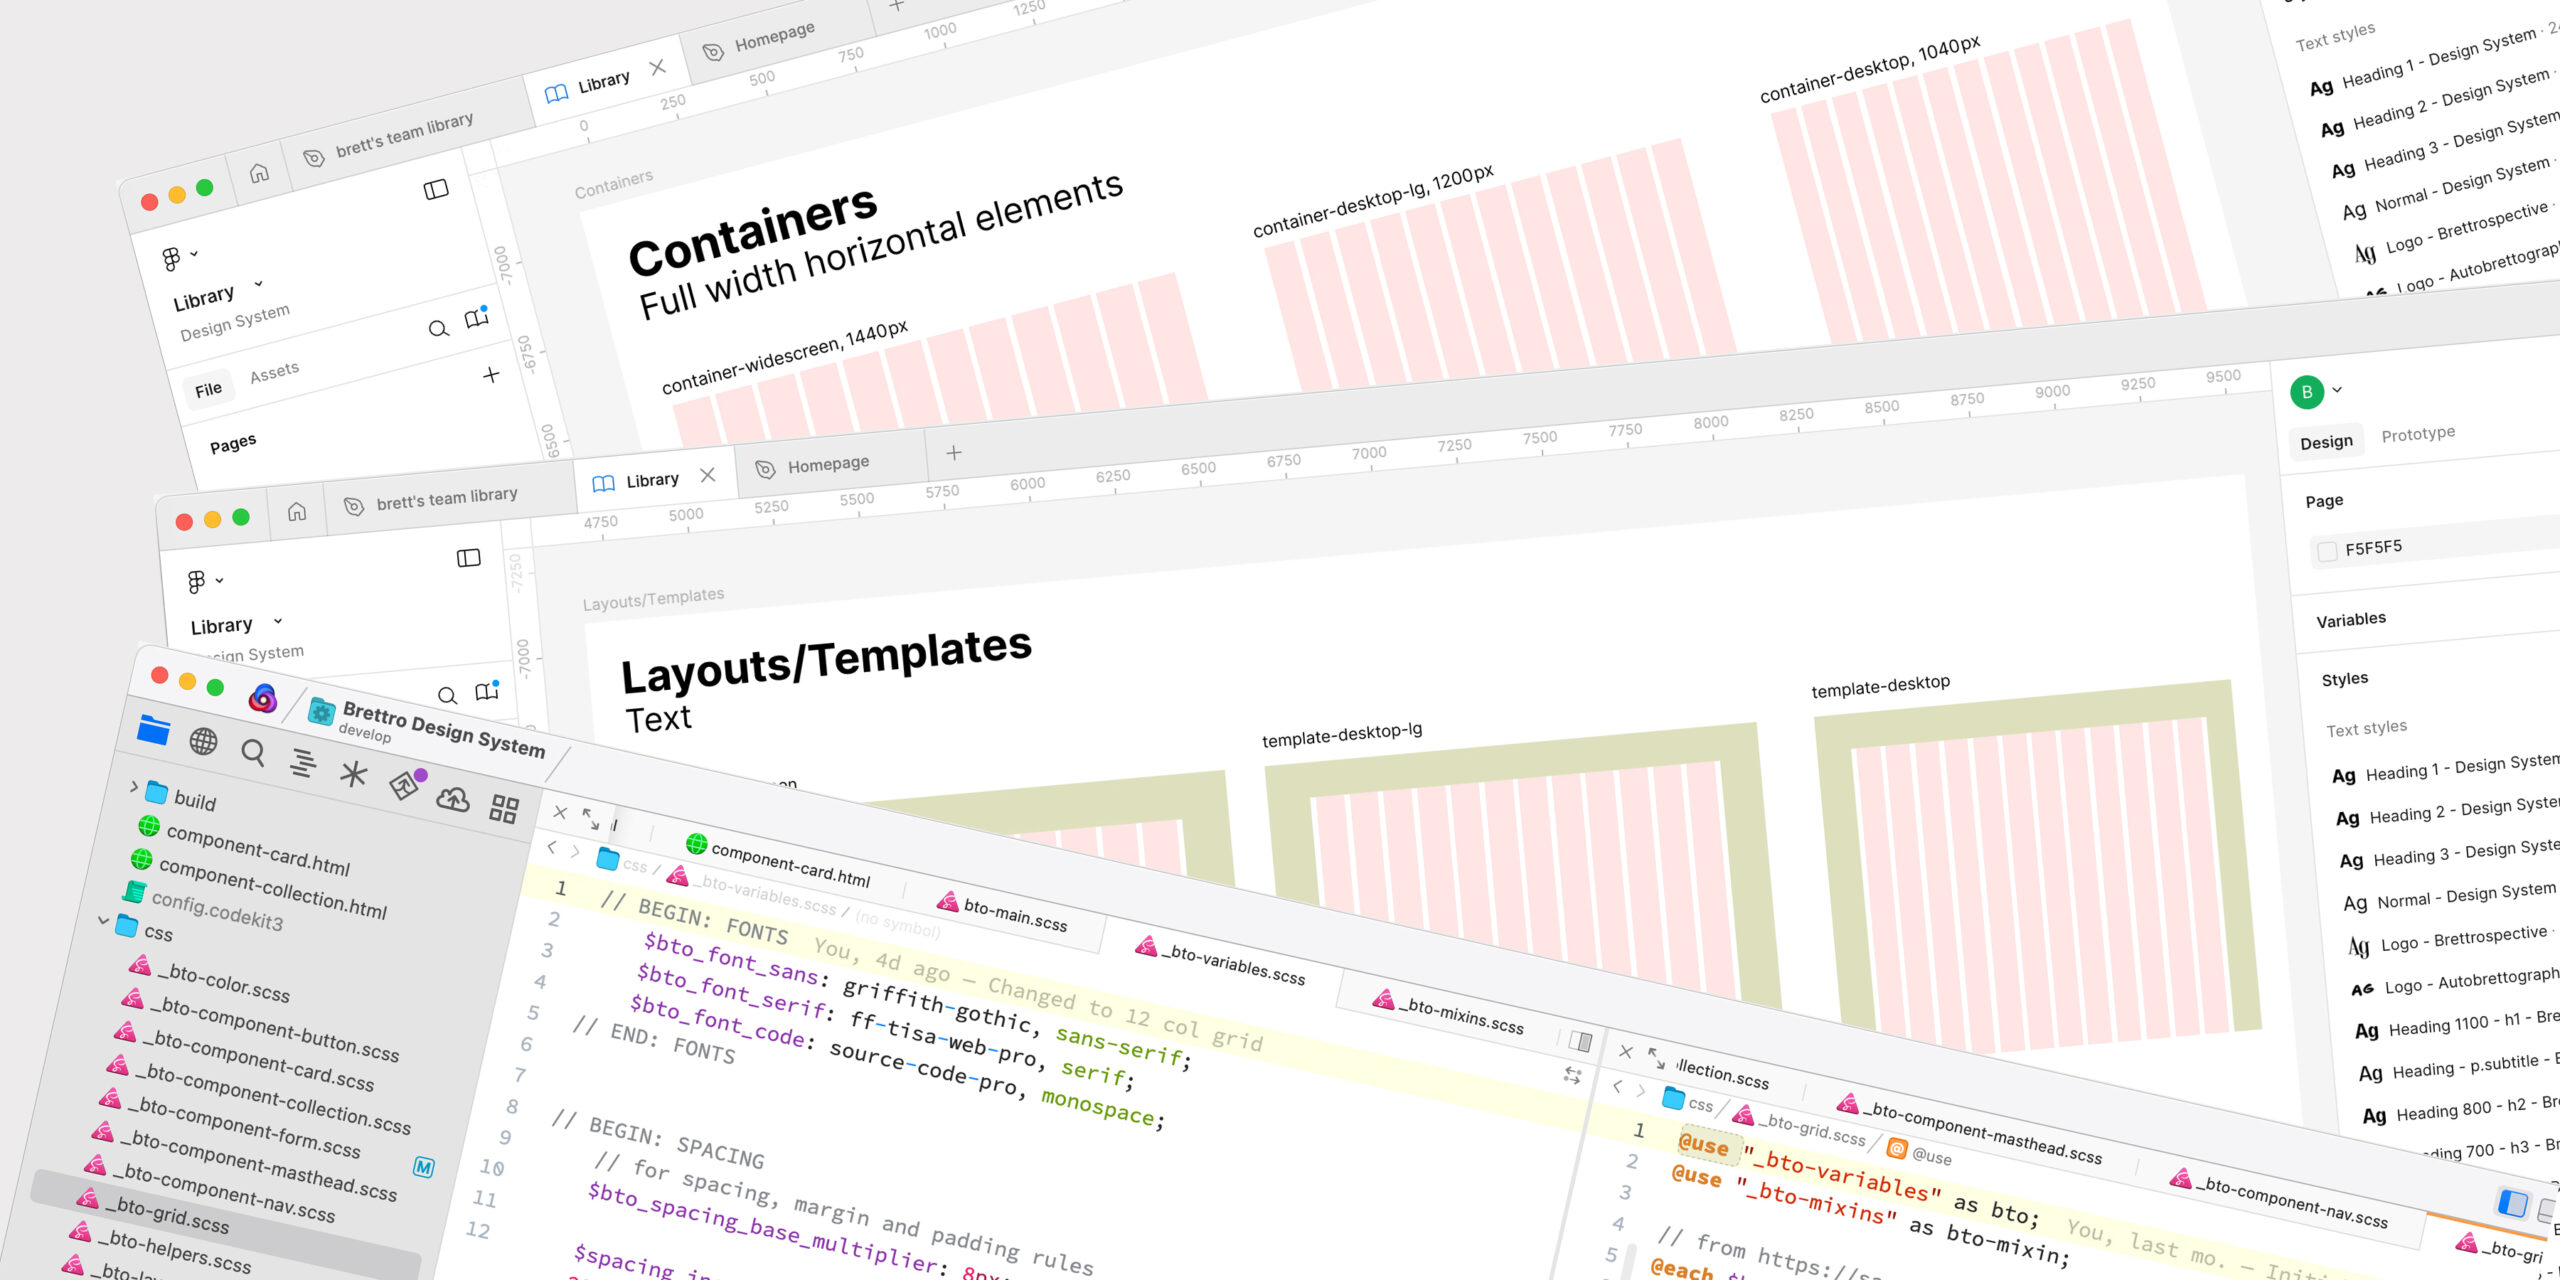
Read how I developed my content and page containers and began my layout templates.
-
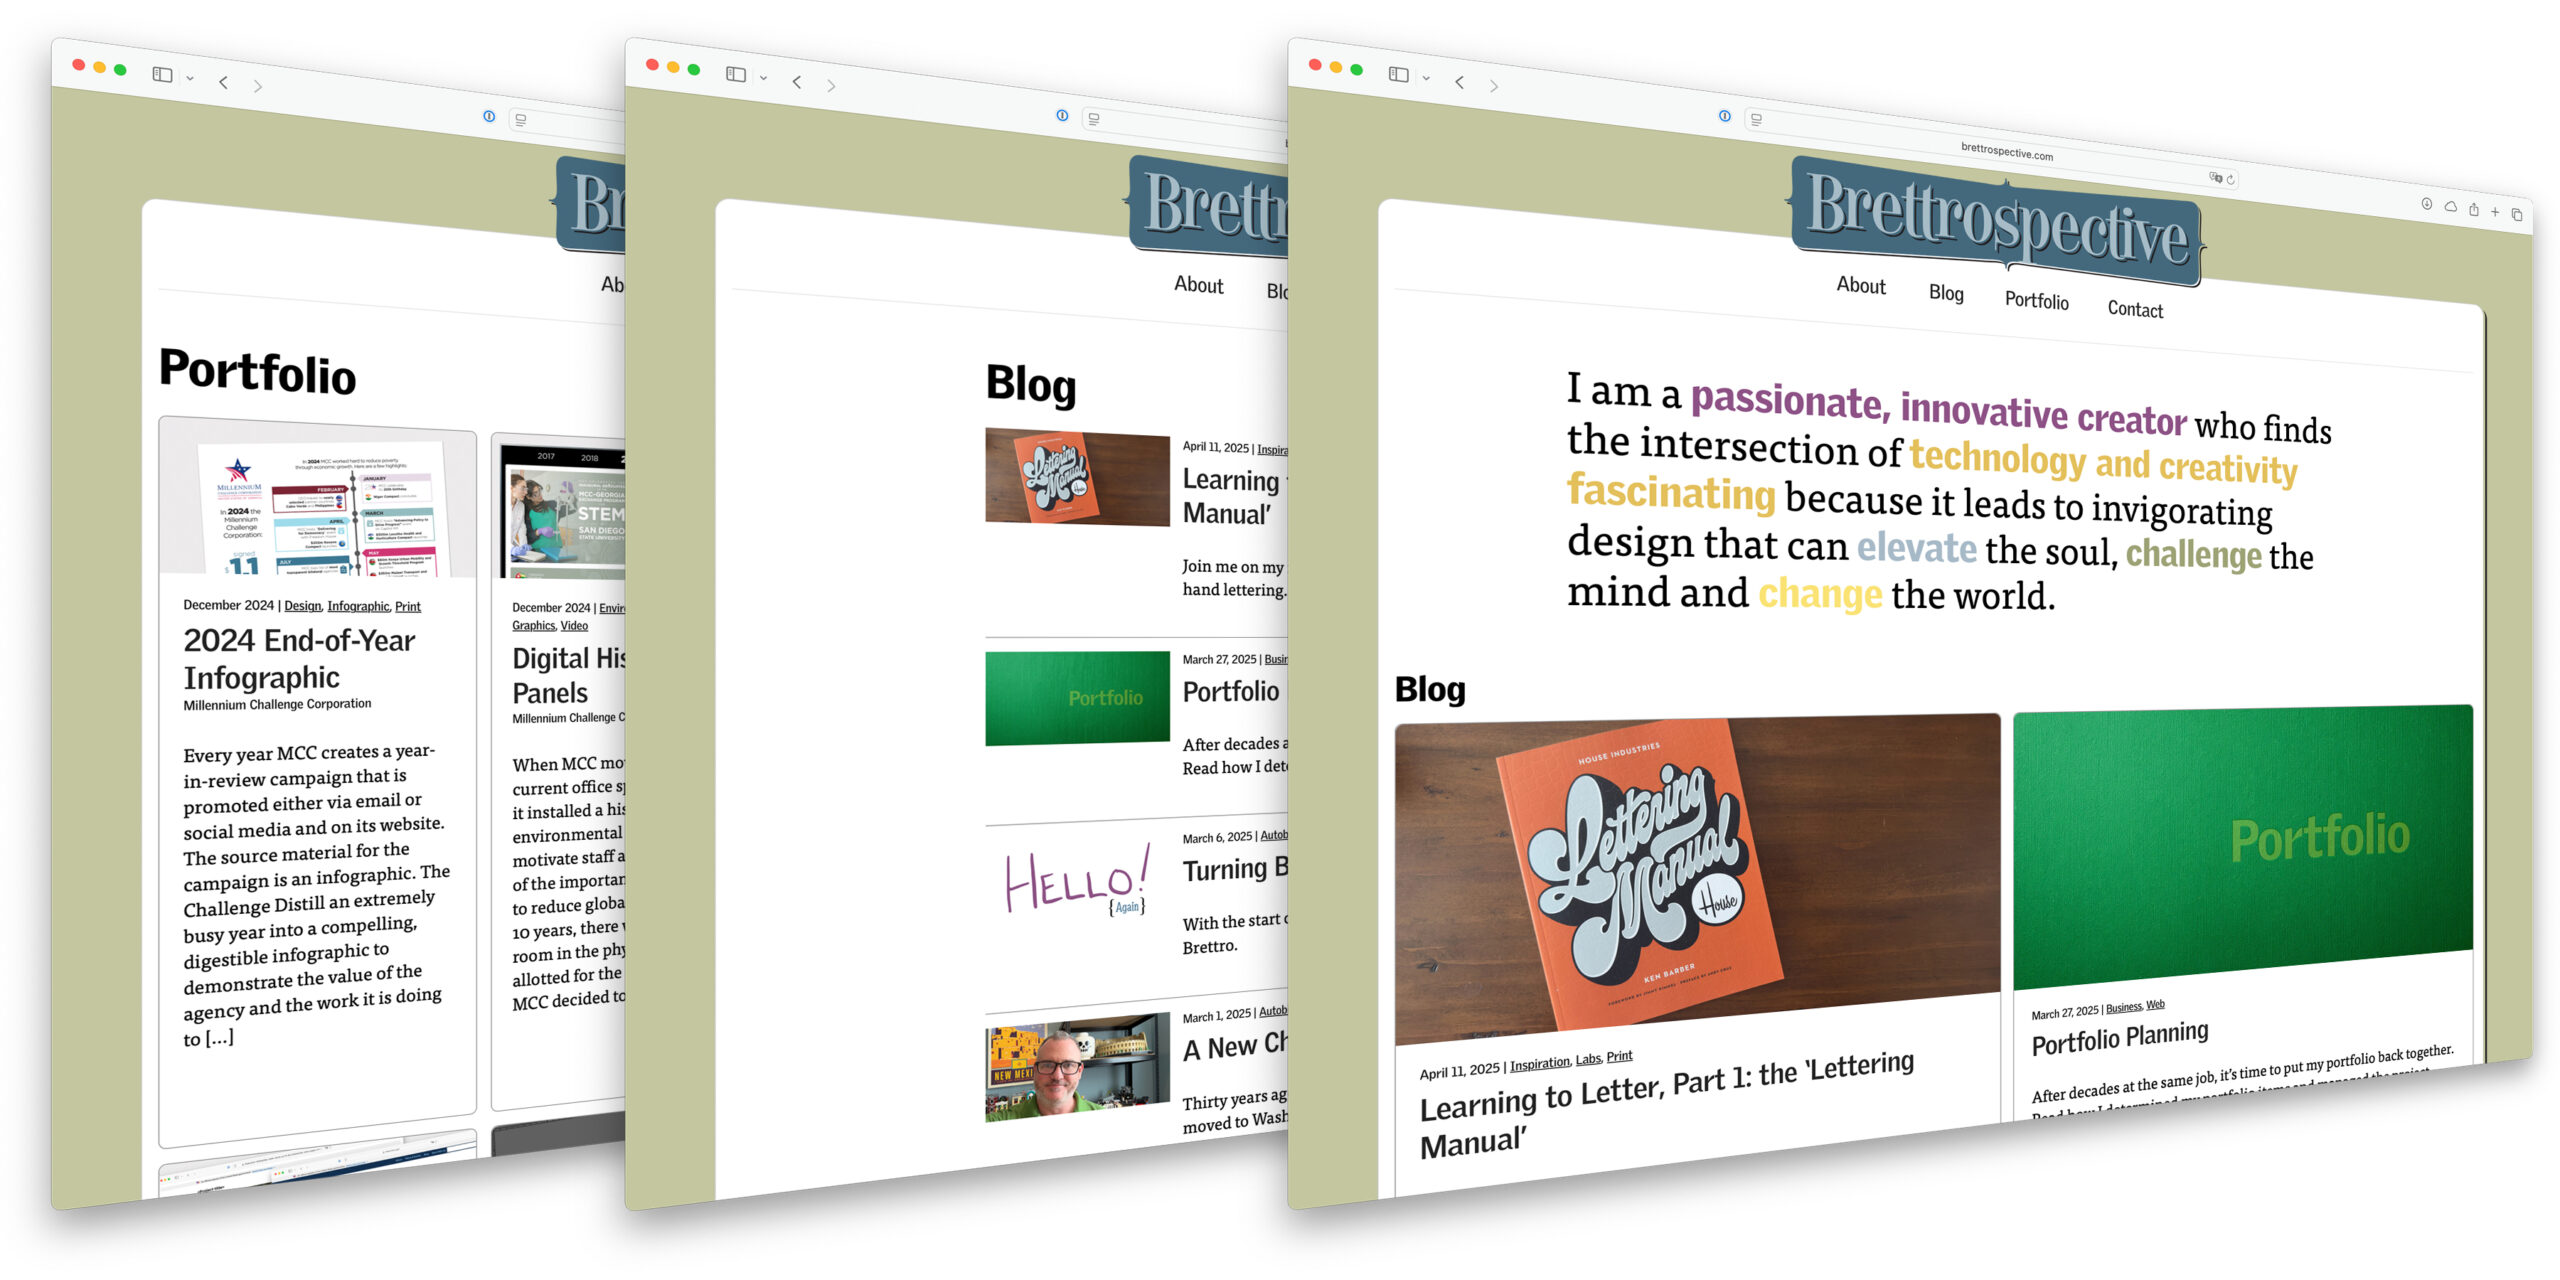
I have finally launched my website’s latest custom WordPress theme bringing years of “the bland Brettrospective” to an end.
-

After decades at the same job, it’s time to put my portfolio back together. Read how I determined my portfolio items and managed the project.
-

With the start of this new chapter, it seems like a great time to restart Brettro.
-

A brief update on Brettro.com’s design.
-
I love typography and was very excited to tackle this aspect of the system. Read how I tackled it and dealt with some frustration about it.
-
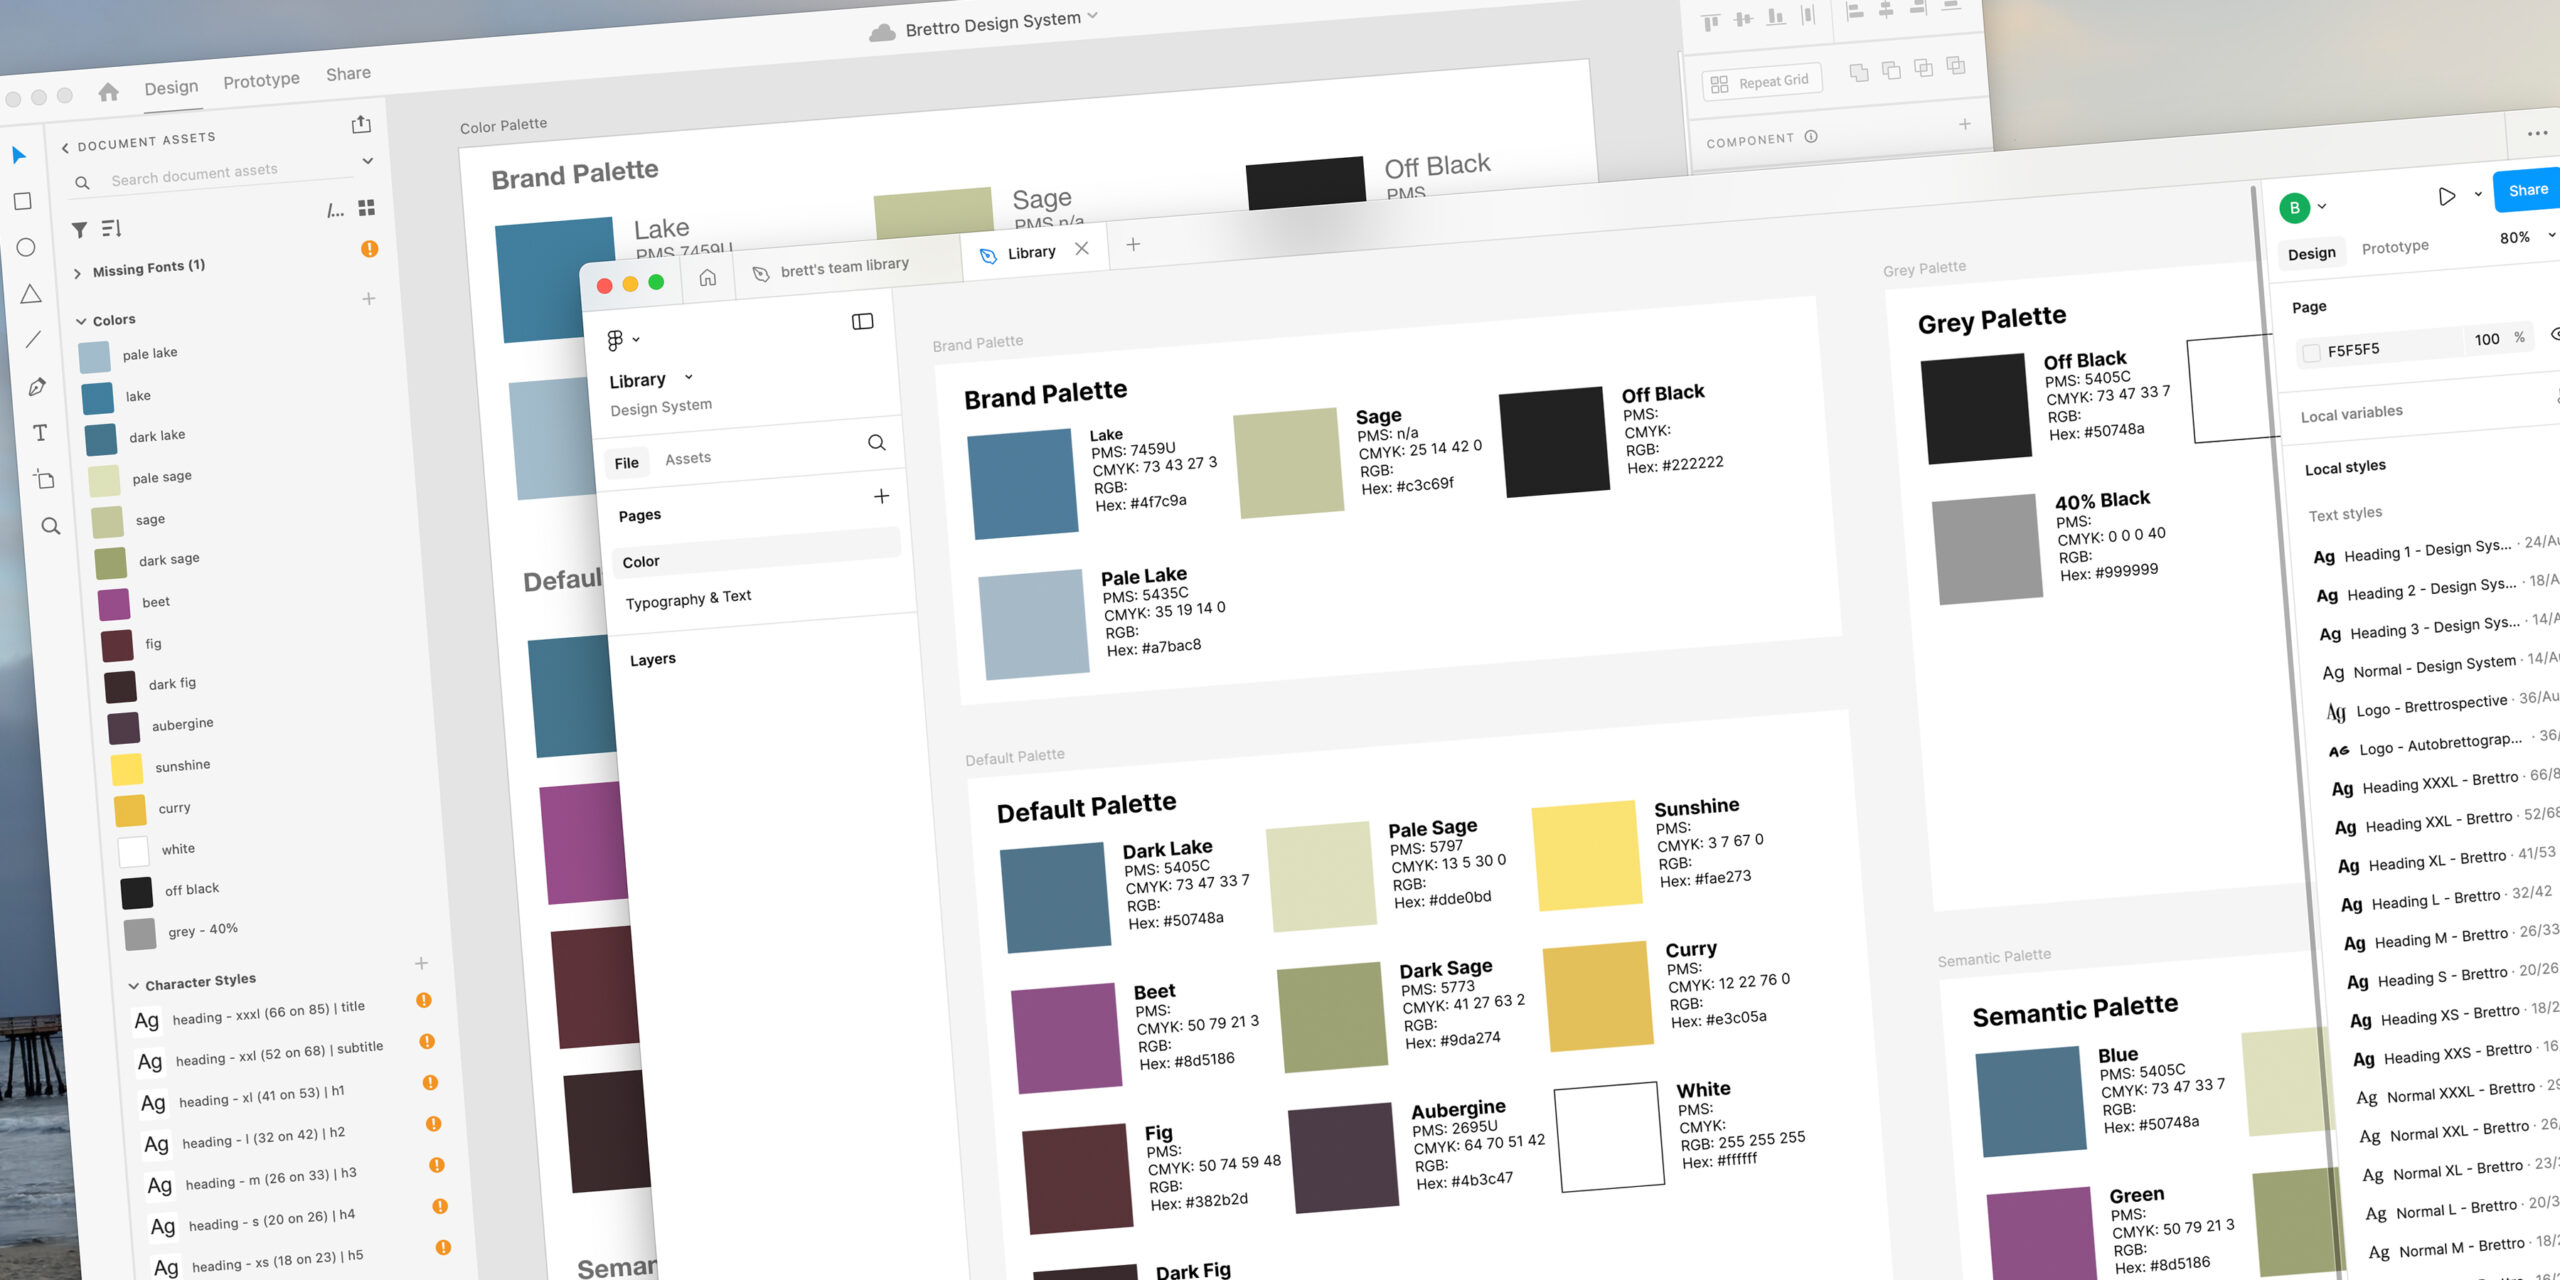
About a month ago, after hearing more and more about Figma, I started using it to manage my design system.
-
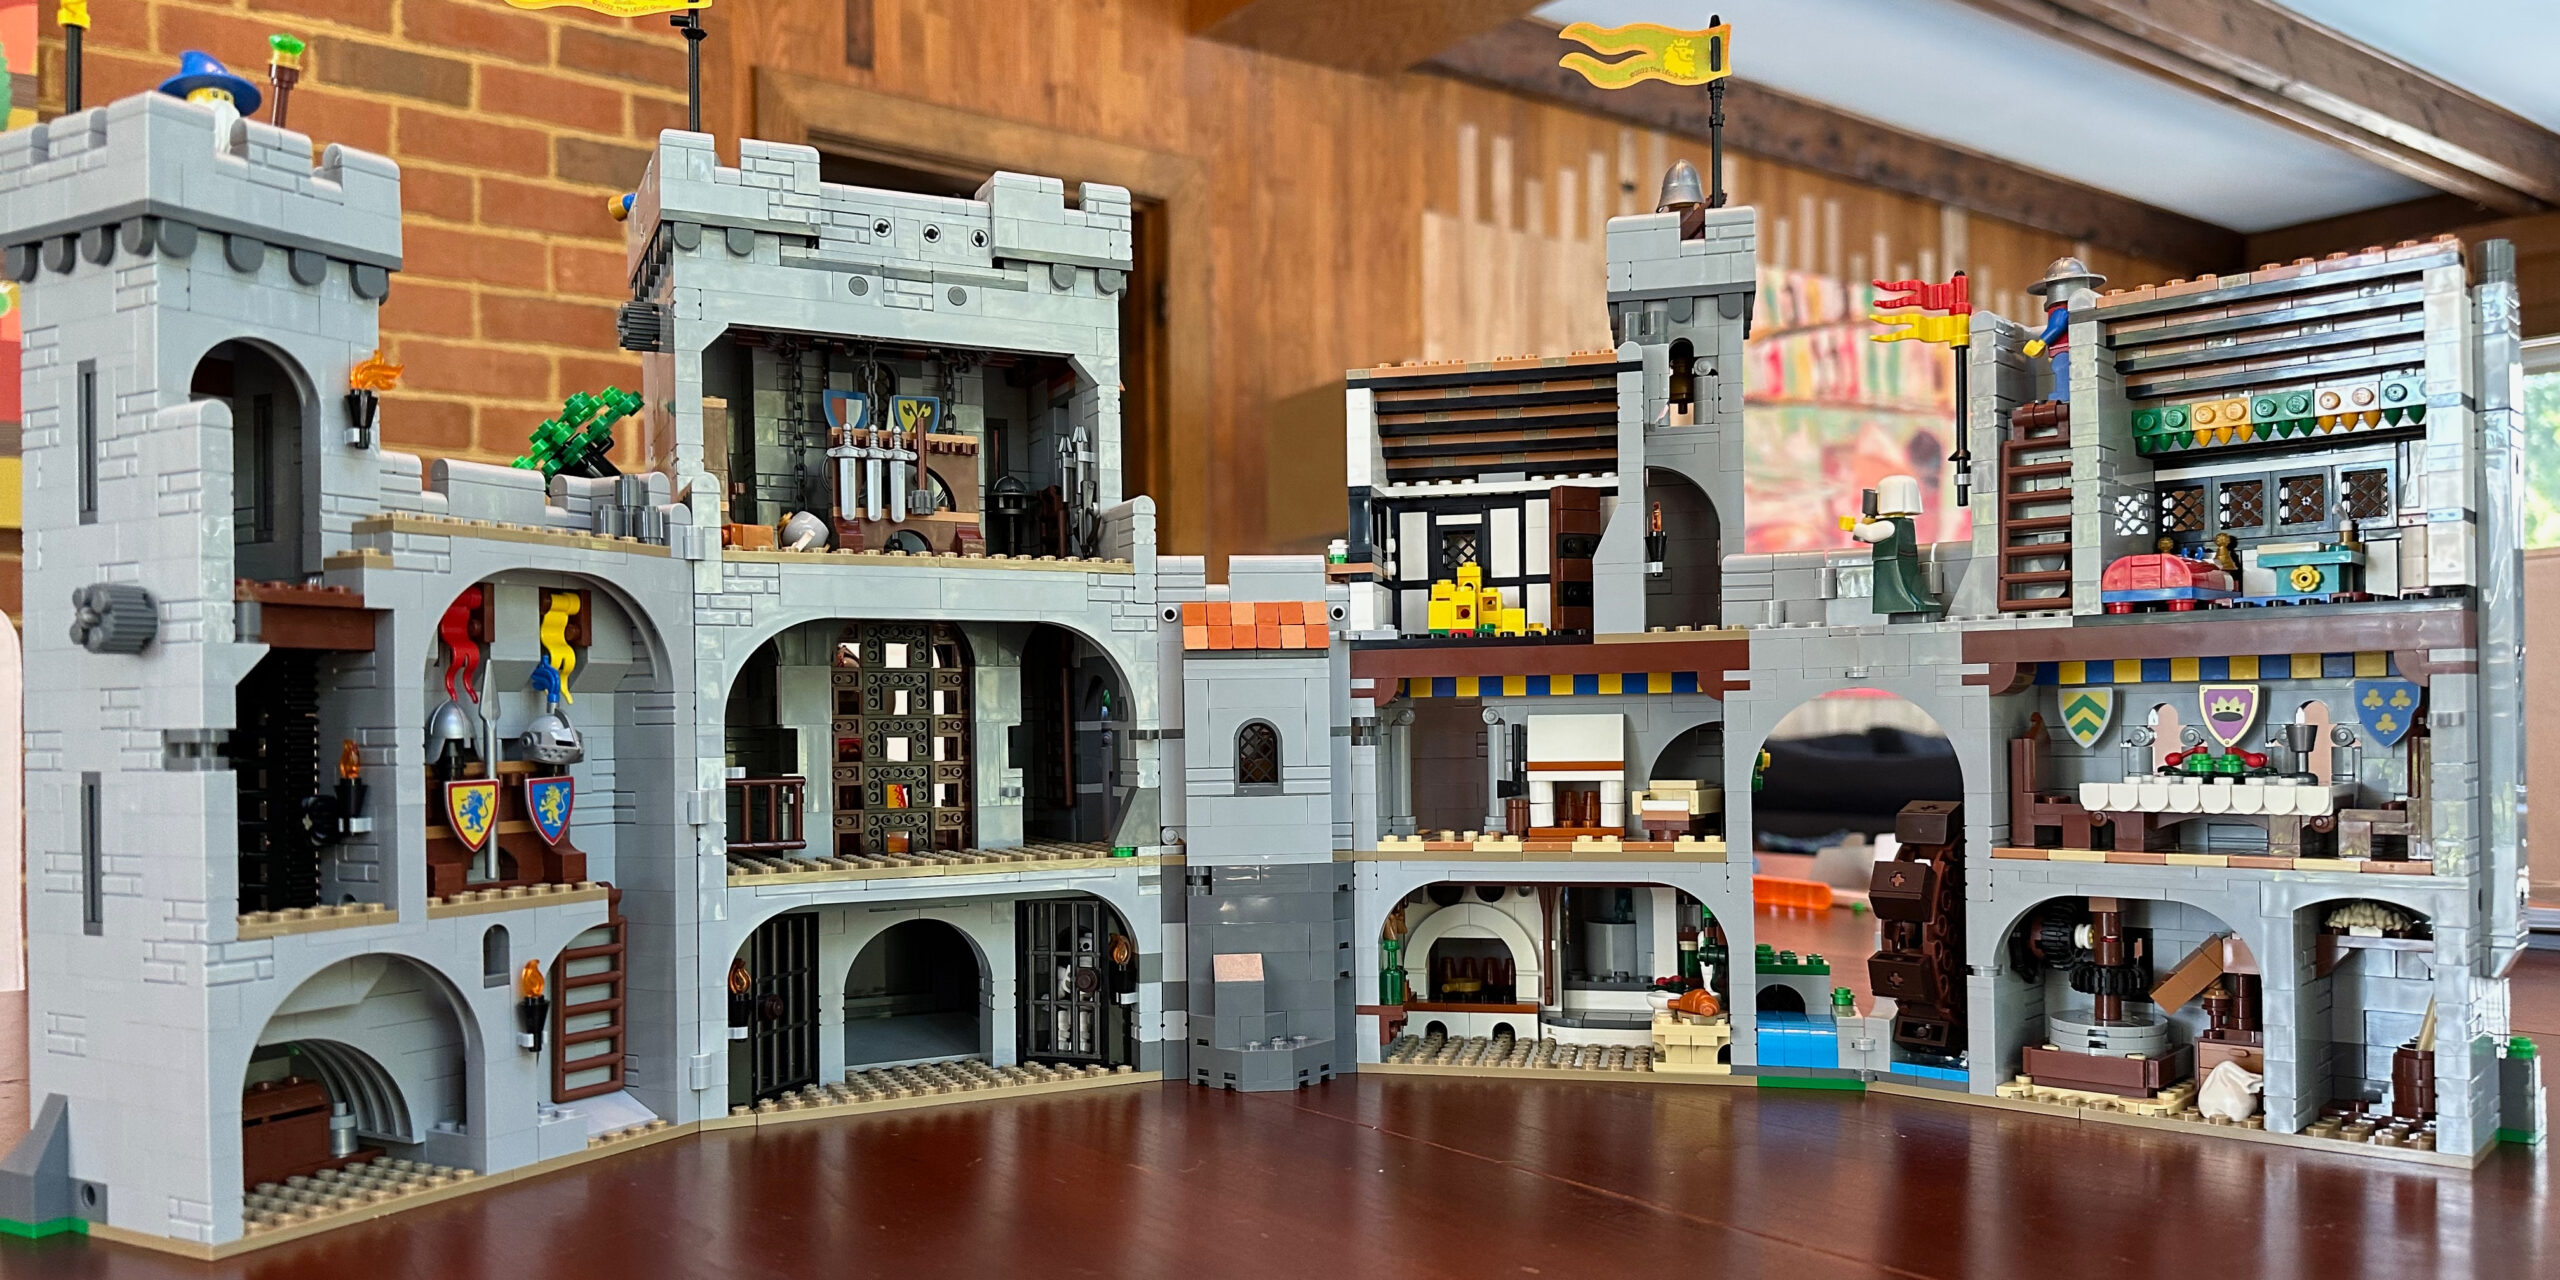
This build is chock full of clever details and hidden compartments. This was an extremely fun build.
-

Learn how a few foundational decisions set up design system spacing and grids.